
 Facebook
 X
X
 Pinterest
 Copy Link
5 Tips to Organize Your Closet
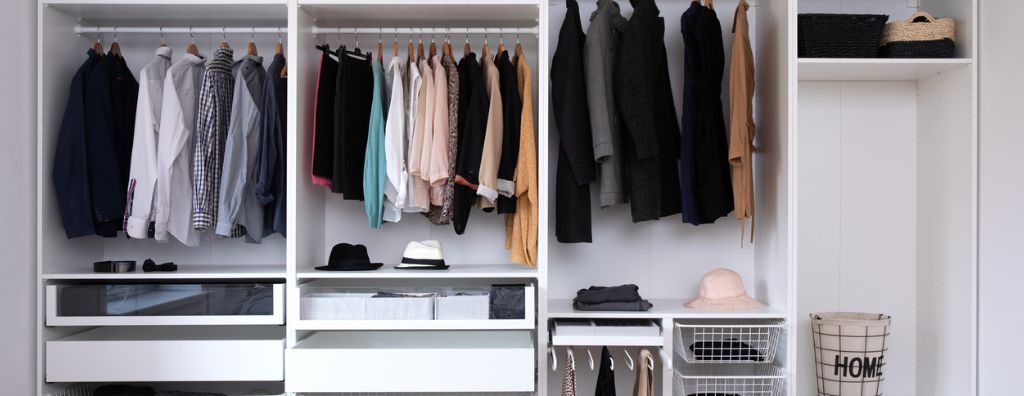
An untidy closet can clutter your mind. Organize your closet section by section and you’ll improve your morning routine, get rid of extra belongings, and clean up your home in the process. Before you begin your closet purge, it helps to visualize how you want it to look. Your closet’s size and dimensions will determine much of what you’re able to accomplish, but the goal is to get it nice and neat regardless of size. Here are a few tips to help you get started.
5 Tips to Organize Your Closet
1. Start From Scratch
Before you can build up the closet you’ve wanted, you have to empty out the old one. Start by clearing your closet of all your belongings and placing them in nearby storage. Take out all your hangers and any clothing bins that aren’t fixed in place. This allows you to take a step back and build from the ground up. It’s also an opportunity to clean the corners and hard-to-reach areas that don’t normally make it into your cleaning routine.
2. Add Shelves
Take measurements while your closet is empty to see what shelving can fit. When shopping for shelves, consider your wardrobe inventory. Do you have more pairs of shoes than pants? Which items take up more space than others? This will help you decide on the perfect set of shelves to address your needs. Keep in mind that the most commonly used items should go toward the front of your closet for easy access. Seasonal items like raincoats, snow gear, and bathing suits that you don’t use as often can go toward the back. Design your shelves to address these needs.
3. Maximize Space
Maximizing your closet space comes down to two main factors: design and storage. You can have the best closet design in the world, but if it doesn’t allow room for storage, then your wardrobe will be overflowing before you know it. Shelves with multipurpose storage and vacuum bags are two space-saving products that can make a huge difference in available space. A clothing rack is a useful tool, not only because it allows you to hang clothing neatly along the rod, but some products also come with underneath storage that can free up even more space.
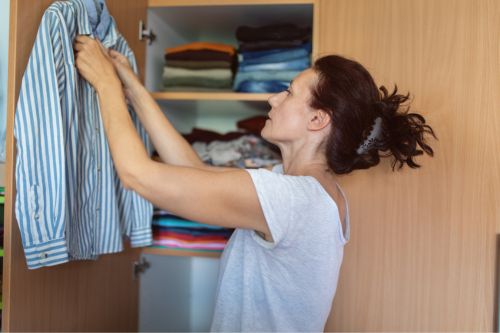
Image Source: Getty Images – Image Credit; miljko
4. Use Corners
Yes, your closet walls provide a nice home for shelving, clothing racks, hanging rods and the like. However, they’re not the only space where you can focus your organizing efforts. Instead of missing out on the negative space in the corners of your closet, use them to your advantage. Search for corner shelves that fit within your dimensions and fill them with items you would have had to place elsewhere. You’ll be surprised at how much space they can save.
5. Curate Your Closet
Now that you’ve taken steps to organize your closet, you’re ready to curate it. Iris Miyasaki (wardrobebysaki.com) is an expert in closet curation. As she puts it, closet curation is a stylistic approach to organization; it’s all about looking at your wardrobe through the lens of how those pieces get used in your life and arranging from there. “When you can see all your clothes, shoes, and accessories, you’ll want to use them more. I focus on creating a visual palette for my clients, whether that means organizing by color, silhouette, or types of items. The idea is to create a closet they’ll want to ‘shop’ in,” says Miyasaki. Once your closet is cleaned out, you’ll have freed up the mental space to look at your closet with curation in mind.
For more on all things home décor and homeowner tips, head to the Living section of our blog:
Featured Image Source: Getty Images – Image Credit: wip-studiolublin
Simple Garage Makeover Ideas
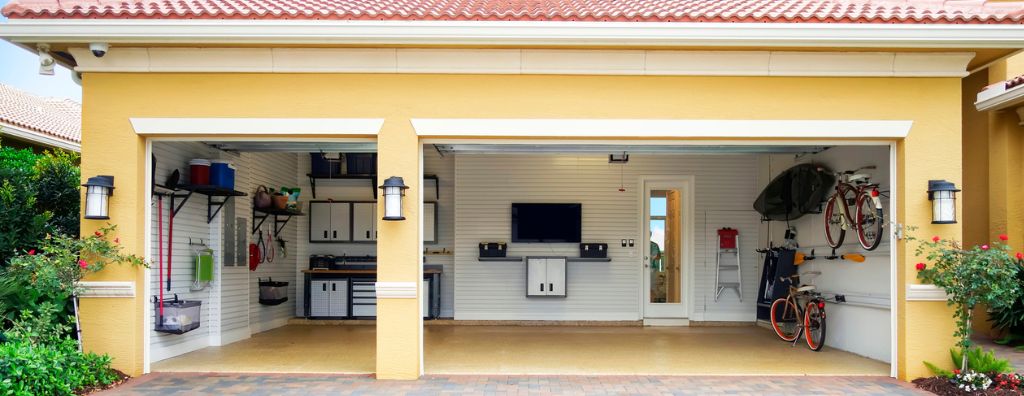
For some homeowners, the garage is the focal point of their home. For others, it is simply a storage space or a place to park their vehicle. Regardless of how you use your garage, these simple garage makeover ideas can help keep you organized, boost your curb appeal, and increase your home’s value.
Simple Garage Makeover Ideas
Garage Exterior
The garage door is a natural starting point for your garage makeover. A garage door replacement is a surefire way to increase the value of your home and is a common tactic for drumming up buyer interest when preparing to hit the market. But even if you don’t have the budget for a full-scale replacement, a DIY garage door makeover can still make a big difference.
Repaint Garage Exterior
Begin by prepping your garage door for a fresh coat of paint. Clean and scrub the surface with warm soapy water. Scrape off any loose paint with a putty knife or wire brush. If scraping manually is too taxing for you, use a wire wheel brush tool. Rinse and clean the door, letting it dry completely before you begin painting.
Once you’ve covered your driveway with a tarp or plastic sheeting to protect it from paint spills, you’re ready to begin painting. Choose a complimentary color for your trim to tie together your home’s exterior color scheme. Check out different styles of garage door hardware options that match the style of your home, choose your layout, and install the pieces.

Image Source: Getty Images – Image Credit: hikesterson
Garage Interior
As you turn your attention to your garage’s interior, consider refinishing the floor first. By starting with the floor, you won’t have to continually shuffle your garage items around as you continue your makeover. If you’re considering converting your garage into a home gym, factor that in as you work on the flooring.
Start by fixing any cracks or holes with a basic patch kit. Once the surface is flat, sweep and mop from end to end. If you are removing a previous layer of paint, use a buffer to jar the old paint loose before repainting. Finishing your garage floor off with epoxy will help protect it from stains and damage. Apply two coats of epoxy twenty-four hours apart, followed by a sealing topcoat.
Organize Your Garage
In just a few steps, you can turn your garage from a cluttered oversized closet into an organized storage space. Start by taking inventory of the items in your garage. Do you have lots of tools? Is the space filled with sports equipment? Grouping like items together will keep your storage orderly. Next, decide where you would like to store your items. Overhead storage racks, rollers, and ceiling storage can significantly cut down on clutter, but these storage options are best reserved for infrequently accessed or seasonal items like holiday decorations and camping gear.
Keep frequently used items within reach. Magnetic wall panels are a great resource for your everyday tools and gardening equipment. Install shelving and drawers near your workbench to keep smaller hand tools, screws, and nails tidy and organized and add labels so you can keep track of them. If space is limited, consider a wall-mounted foldable workbench.
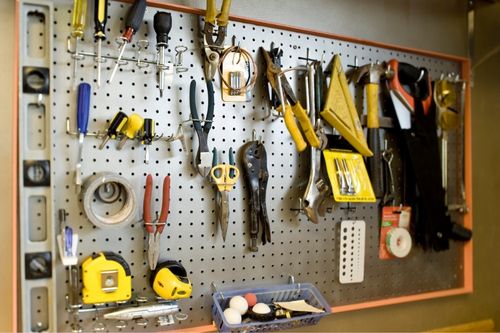
Image Source: Getty Images – Image Credit: Bluberries
Add Finishing Touches
Now it’s time to put the final touches on your garage makeover. Though installation may require the help of a professional, adding electrical outlets will pay dividends for the functionality of your garage. Installing bike hooks on the ceiling will help to save floor space and may provide just the clearance you need to park a vehicle inside. Lastly, consider upgrading your lighting. Newly installed lights will add value to your garage and make it safer.
For more simple design projects that can give your home a makeover, read the following:
5 Design Projects to Improve Your Backyard
Featured Image Source: Getty Images – Image Credit: JodiJacobson
6 Commonly Missed Cleaning Spots
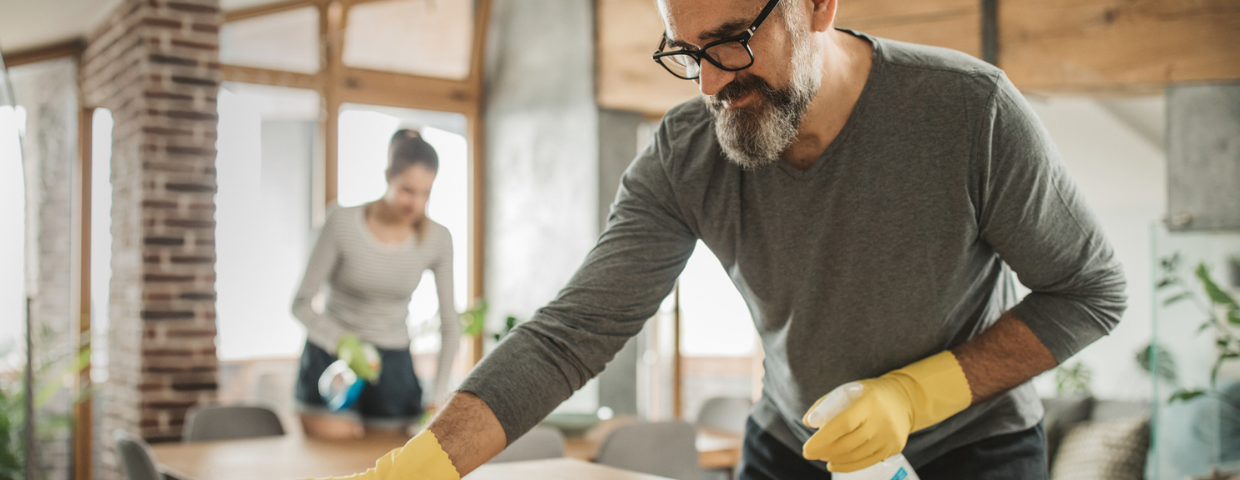
It’s easy to get into a routine when cleaning your home season after season, year after year. While simply going over the same spots may make your home feel cleaner, at the same time, it allows the neglected areas to become dirtier. Here are six commonly missed spots around the home that, once given the attention they deserve, will help make your home feel completely clean.
6 Commonly Missed Cleaning Spots
1. Underneath & Behind Furniture
Dirt and dust love to hide in tough-to-reach, tucked-away spots like behind your nightstand, under your bed frame, and on the underside of your tables, chairs, and couches. Cleaning these areas may require some heavy lifting and rearranging but it’s worth your while. If enough dust and grime have accumulated over the years that your vacuum can’t remove the buildup, try using a washcloth to loosen the sediment.
2. Vents and Fans
Vents and fans not only collect dust, but they also distribute it around your home. Ceiling fans are one of the hardest spots in your home to reach, so you may need to use a ladder and an extended duster to clean them. Clean your vent grates with a dusting brush or a wire brush depending on the thickness of the buildup. If your home has central air, remember to replace your air filters periodically. A clean ventilation system is key to protecting your home’s air quality.
3. Bathroom Surfaces
We all know the feeling of picking up a rarely used shampoo bottle in the shower to discover a grimy ring underneath it. Wipe off your bottles and surfaces in the shower to keep it sparkling clean. Scrub away the debris from your shower head and soak it in a mixture of water and white vinegar to cleanse the device and to prevent a buildup of mineral deposits. To reach behind the toilet, you may need knee pads and an extended cleaning tool. Use a disinfectant-water mixture to prevent the spread of germs. Tackling chores like these will help make your bathroom feel brand new in no time.
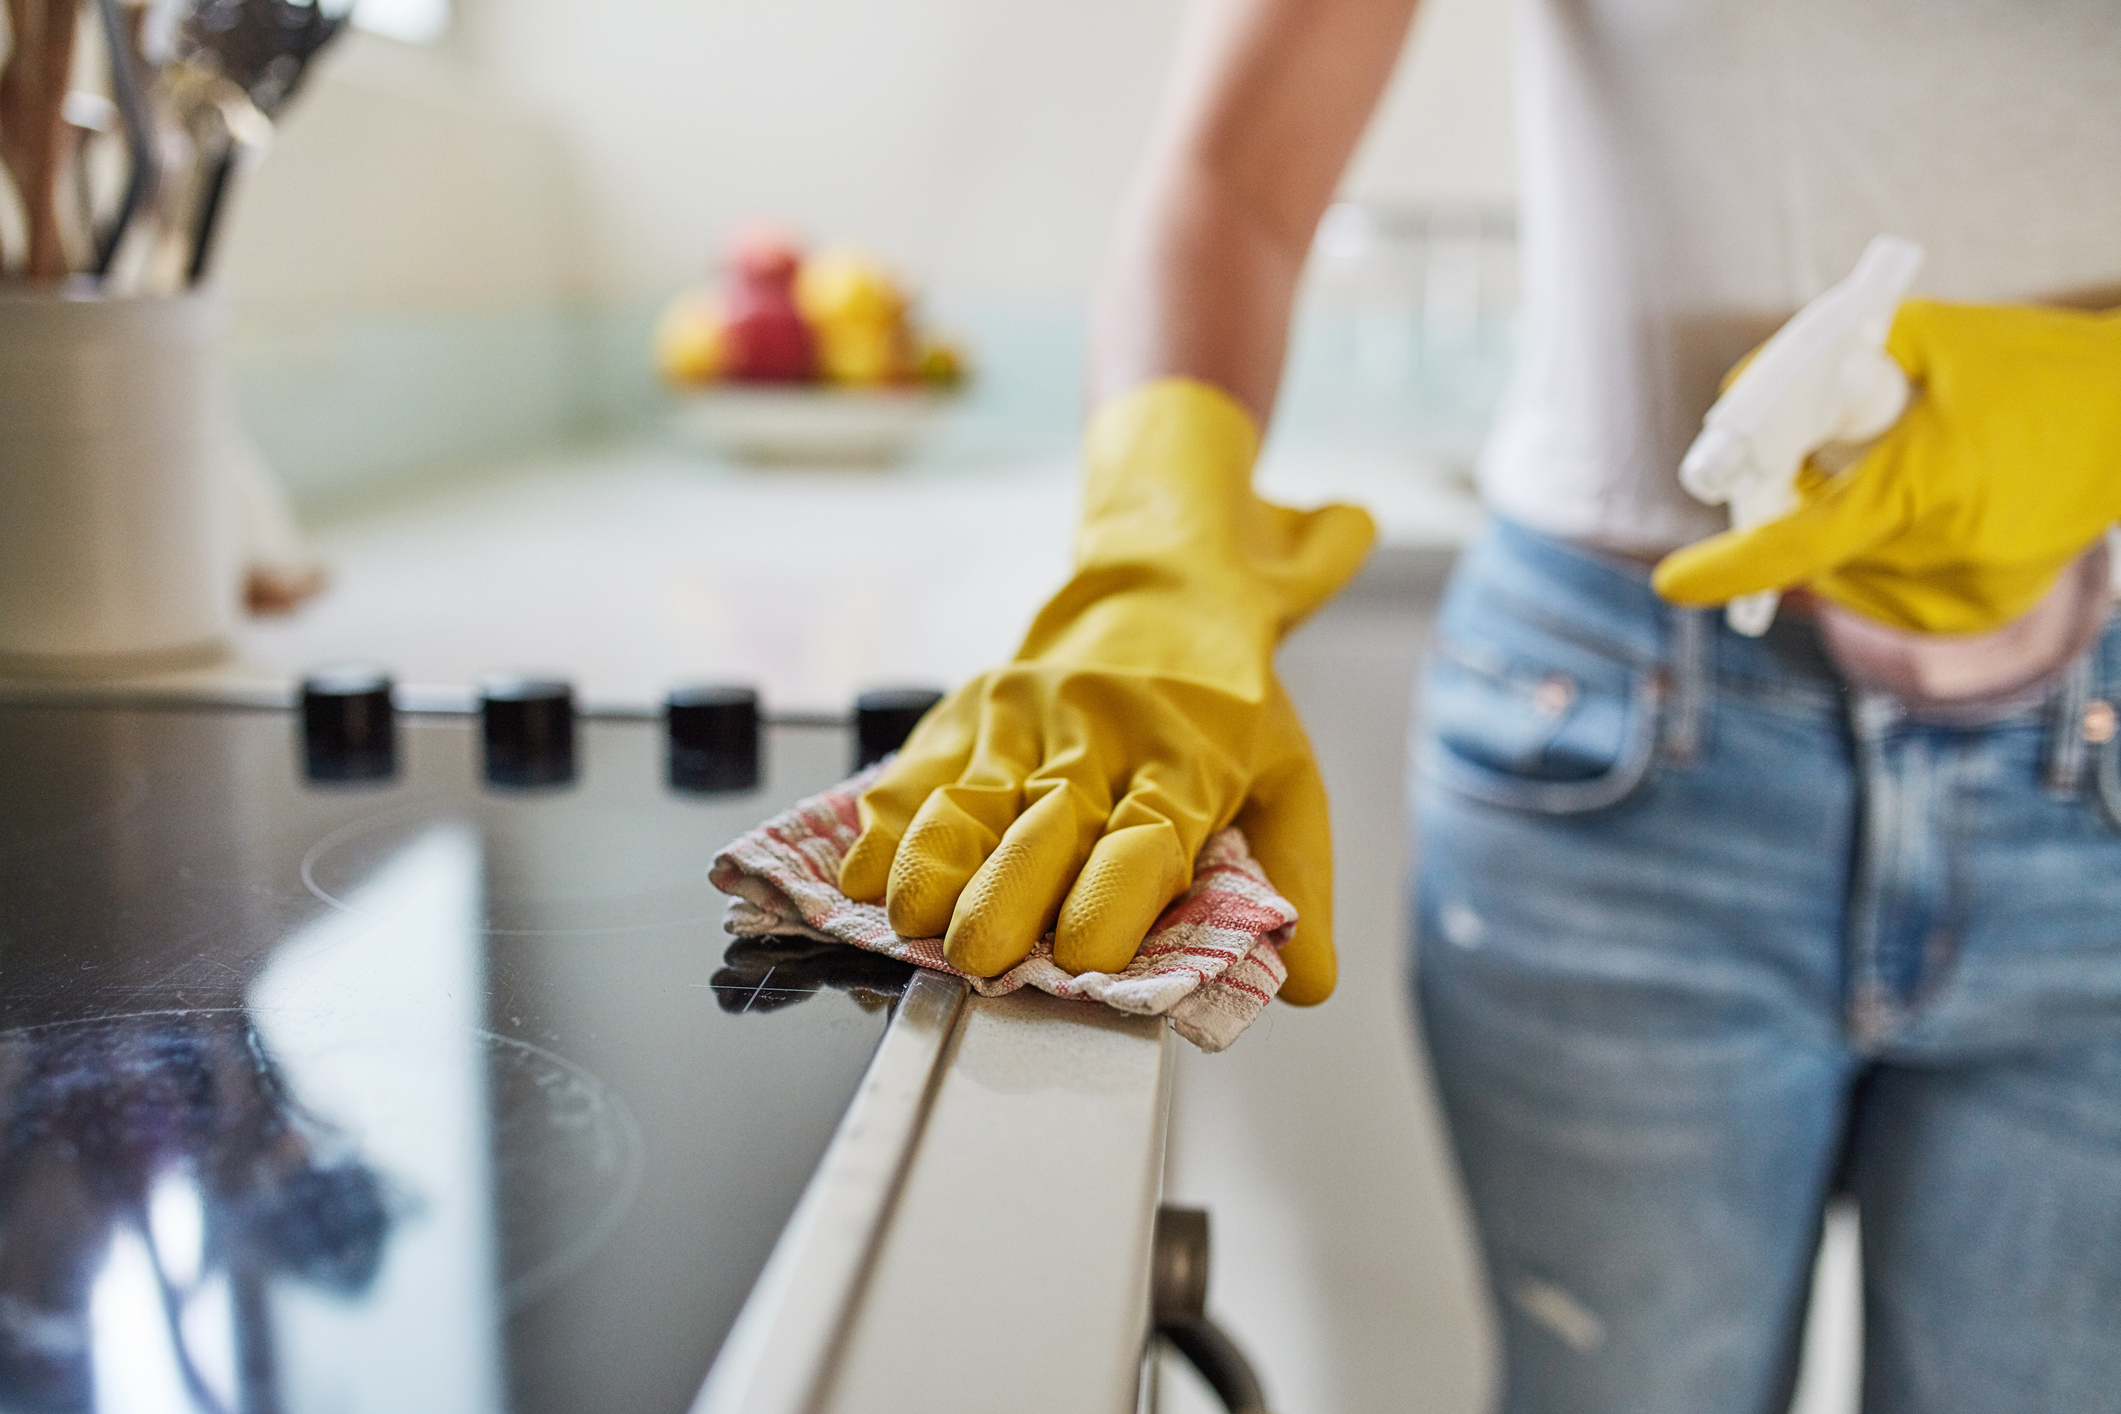
Image Source: Getty Images
4. Switches & Handles
Light switches, door handles, drawer pulls, and knobs are all hotbeds for germs and dirt and can easily be forgotten while cleaning your home. Take a two-step approach to cleaning these high-touch surfaces: first clean, then disinfect. Cleaning will get rid of contaminants, while disinfecting targets pathogens. The combination of the two will help make your home feel cleaner while reducing the spread of germs. Other high-touch surfaces such as keyboards, phones, tablets, and other devices require regular cleaning as well.
5. Appliances
It’s easy to think of your appliances strictly as devices that help your home stay clean and organized, but they are magnets for dirt and gunk, too. After cleaning out the refrigerator and scrubbing down the shelves, find the coils and clean them of debris with a vacuum or a brush. The floor underneath your refrigerator can be a seriously grimy spot, so a quick mop of that area is worth your while. Give your dishwasher a good cleanse to prevent mold buildup and bad odors. Remember to clean out the filter occasionally with soap and water. Cleaning your appliances routinely can help avoid repairs and can even extend their life expectancy.
6. Baseboards
Baseboards are the perfect settling point for dirt and dust. The space between your walls and floors is an easy trap for buildup, and upon closer inspection, you’ll find some combination of scuffs, dust, food remnants and scratch marks. To thoroughly clean your baseboards, you may need to move your furniture away from the walls but be careful not to scratch the floor or damage the baseboards. Wipe away the dust before cleaning the surface. Use either a mix of soap and water, water and vinegar, or the proper wood cleaner for wooden baseboards.
For more information on cleaning your home, seasonal maintenance, and more, visit the Living section of our blog.
Clear the Clutter and Help Others in Need!

Your junk could be someone else’s treasure or be resold to provide funding for programs that help people in need. There are a lot of other non-profit, charitable organizations in your area that would be more than willing to take your spring-cleaning discards. Here is a list of some organizations to give you an idea of the many possibilities.
New Year, New Start
The New Year is a great time for renewal, and there’s no reason why your home shouldn’t share in this time of rejuvenation. Here are a few ideas to give your home – and your spirits – a lift as you move forward in 2015.
Community Service Day Southwest is Friday, October 21st!

Tomorrow is a very special day here at Windermere Real Estate, it is our annual Community Service Day. Every year our Southwest offices dedicate a day to working in our community to make things a little brighter for our neighbors.
Make the Most of the Home You Have

Here is a top ten list of improvements that will help you make the most of your home.
July Perspective

We agree that community service shouldn’t end with a cap and gown. Over the years, our team has proven this time and time again by embodying the notion that service to others is not something you do, it is who you are.
Weekend Warrior: Quick projects to upgrade your home

Memorial Day traditionally represents the kick-off of summer. Kids are getting out of school, families are making summer vacation plans, and backyard barbeques are on everyone’s minds. This is also a great time of the year to get your house in order and ready for the summer season.
Spring in your step: smart ways to get rid of the clutter and update your décor

What are your tips for preparing for spring? What are your favorite spring rituals, once the cleaning is done?
")


